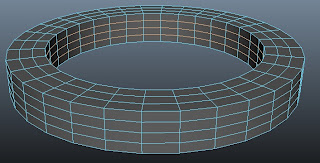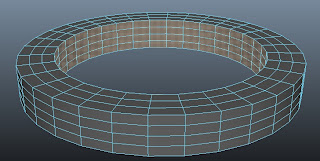

Paint selection tool

Grow selection region


Strink selection region

"Select contiguous edges", "Converting selection to faces" and "Create selection set"

 For this lesson I learnt a lot of different techniques on how to select different components of the object. I find backface culling very useful as it only selects faces that are visible. This way, I would not accidentally select faces that I do not want to select. The paint selection tool is my most preferred way of selecting components as it is the most effortless way for me to select the faces that I want; I do not have to click one-by-one. Whenever I drag and click the faces i wanted to select, I always ended up selecting those faces that I don't want accidentally. This solves my problem and it is very convenient. I also learnt how to use the grow/shrink selection region tool. I find that very useful too, especially when I want to select a small area of the object. There are even hotkeys that I could use without clicking the menu bar for it. I also learnt about the 'select contiguous edges' tool. It selects the faces that are nest to the ones already selected. After that, using the 'convert selection to' button to 'faces'. This way, all the edges that were selected becomes selected faces. Lastly, I also learn to create a 'quick selection set'. It helps me to select the components and store them for easy retrieval later.
P.S: previously I did not know that screenshot images must only contain the object and not the whole interface. From this post now on, I'll show only the object.
No comments:
Post a Comment